03 June 2012

A Taste of Vienna: Sachertorte

While on my travels through Europe, bakeries were of course my number one priority (as exciting as beautiful Cathedrals and historical sites are, let's be real.  Indulging and tasting any sweet I can get my hands on will forever be the most exciting travel activity in my book). Poland and Prague definitely had some delicious desserts, but none even came close to those in Vienna. Apricots, apparently, are a favorite there. 

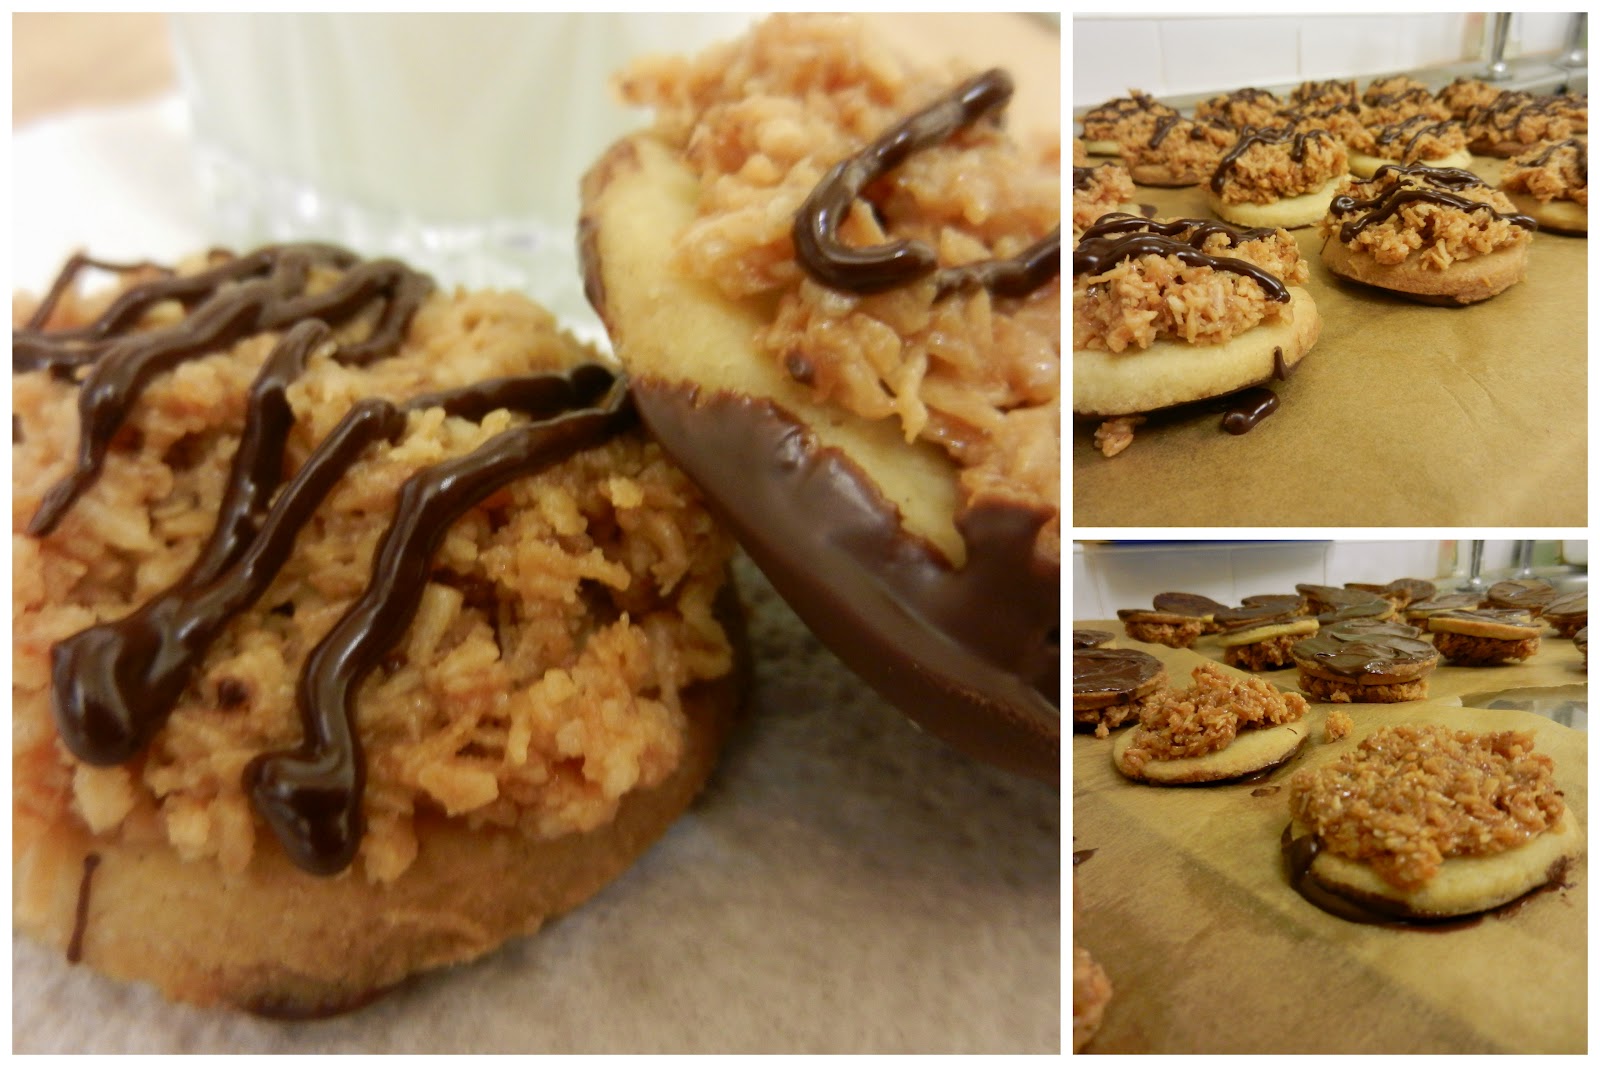
My obsession started when I tried an ice cream ball at a famous Viennese ice cream parlor, called  "eis-marillenknodel." Don't ask me to pronounce it, because I absolutely cannot.  This vanilla ball of ice cream has an apricot marmalade center and is rolled in crushed hazelnuts. The tart marmalade works so incredibly well with the sweetness of the vanilla ice cream and heaviness of the hazelnuts. Needless to say, this marked the beginning of my long-lasting apricot kick.


My next dessert adventure in Vienna was technically more of a mission. I was willing to skip out on museums and tours to get my hands on a slice of the infamous Sachertorte. This cake dates back to the early 1800s with 16-year old Franz Sacher who created a soft fluffy cake with apricot jam under the icing. Demand continued to spread for this wonderful cake, and is claimed to be the most popular cake to date! After reading this, I could not live with myself if I didn't have a slice while in Vienna... and I was absolutely NOT disappointed. I would have to say it was love at first bite (okay-cheesy, but true). 

I have made this cake twice now, and it definitely takes some practice to finesse. A couple pointers: make sure the cake is ABSOLUTELY level. As I had very limited baking supplies, my final products definitely didn't look as 'pretty' as I had hoped. Regardless, the cake tasted absolutely amazing both times and is still the only chocolate cake I've ever made from scratch that doesn't dry out while baking.

The website I got the recipe for the cake off of features an extremely helpful how-to video which I would recommend watching. This cake is all about technique and making sure the ingredients are mixed properly. Bring this to any social gathering and I guarantee anyone with a right brain will agree it's the best chocolate cake they've ever had. Just a note, though. Definitely make it ahead of time and allow for lots of time for cooling. The cake has to sit between many of the steps  and rushing the process will probably not create the best results. 

Sound like a dream? Nope- it's real. 
Sachertorte
Recipe credit (cake): Epicurious

For the Cake:
  • 4 1/2 ounces high-quality bittersweet chocolate, finely chopped
  • 9 tablespoons (1 stick plus 1 tablespoon) unsalted butter, at cool room temperature
  • 1 cup confectioners' sugar
  • 6 large eggs, separated, at room temperature
  • 1 teaspoon vanilla extract
  • 1/2 cup granulated sugar
  • 1 cup all-purpose flour (spoon gently into cup and level top)


For the Apricot Glaze:
1 1/4 cups apricot preserves
2 tablespoons golden rum or water


For the Chocolate Glaze:
1/2 cup + 2 tbsp heavy cream
150 grams semi-sweet chocolate, chopped
4 tbsp unsalted butter at room temperature

1. To make the torte: Position a rack in the center of the oven and heat to 400°F. Lightly butter a 9-inch springform pan and line the bottom with a round of parchment or wax paper. Dust the sides of the pan with flour and tap out the excess.
2. In the top part of a double boiler over very hot, but not simmering, water, or in a microwave at medium power, melt the chocolate. Remove from the heat or the oven, and let stand, stirring often, until cool.
3. Beat the butter in the bowl of a eavy-duty standing mixer fitted with the paddle blade on medium-high speed until smooth, about 1 inute. On low speed, beat in the confectioners' sugar. Return the speed to medium-high and beat until light in color and texture, about 2 minutes. Beat in the egg yolks, one at a time, scraping down the sides of the bowl. Beat in the chocolate and vanilla.
4. Beat the egg whites and granulated sugar in a large bowl with a handheld electric mixer on high speed just until they form soft, shiny peaks. Do not overbeat. Stir about one fourth of the beaten whites into the chocolate mixture to lighten it, then fold in the remaining whites, leaving a few visible wisps of whites. Sift half of the flour over the chocolate mixture, and fold in with a large balloon whisk or rubber spatula. Repeat with the remaining flour.
5. Spread evenly in the pan. Bake until a toothpick inserted in the center comes out clean, about 45 minutes. (The cake will dome in the center.) Cool on a wire rack for 10 minutes. Remove the sides of the pan, and invert the cake onto the rack. Remove the paper and reinvert on another rack to turn right side up. Cool completely.
6. To assemble: Using a long serrated knife, trim the top of the cake to make it level. Cut the cake horizontally into two equal layers.
7. Prepare the apricot glaze by combining the apricot marmalade and rum in a small saucepan and heat on medium heat until bubbling. Remove from heat and let sit for 3 minutes.  Place one cake layer on an 8-inch cardboard round. Brush the top of the cake layer with the apricot glaze. Place the second cake layer on top and brush again. Brush the top and sides of the cake with the remaining glaze. Transfer the cake to a wire rack placed over a jelly-roll pan lined with waxed paper. Let cool until the glaze is set.
8. Time to make the chocolate frosting. In a small saucepan, bring the heavy cream to a boil and immediately remove from the heat. Cool to 190ºF / 88ºC and immediately pour over the chopped chocolate. Let rest for about a minute. Using a rubber spatula, stir gently. Once the chocolate cools to 95ºF / 35ºC, add the butter and continue stirring gently just until the butter is thoroughly incorporated. The finished emulsion should be shiny and smooth. Begin to pour over the center of the cake, slowly adding to the sides until covered. Do not move the glaze around once it has started to cool and set.
9. Once the chocolate is covering the cake, let sit for at least 2 hours (or until the frosting has set) before serving. Serving suggested with fresh made whipped cream. 


23 April 2012

DIY Girl Scouts Cookies : Samoas!

Okay- after over a month long hiatus (sorry about that- I was a bit preoccupied with school and such) I am back at it! You will all be happy to know, however, that while traveling around Europe on my spring break trip I found myself completely re-inspired with baking (I kind of have to admit... the cuisine in Scotland was stifling my creative juices)! But after literally eating my way through Warsaw, Prague, Vienna, and Hamburg and trying some of the most delicious desserts my taste buds have ever witnessed, I have plenty of experiment ideas brewing in my head that I'll be sure to test out and share with you all. That's for another post, though.

Finally, for those of you who have maintained your pre-spring break physique, well... let's be serious that's probably all of two people reading this blog. For the rest of us who made it a priority to indulge during vacation, this is the perfect recipe for you! Almost as good as the original, I can't help but rave about these samoas cookies (or caramel de-Lites, whichever you call them). I was only a scout for all of 3 months, but thankfully my sister continued throughout high school so I was still able to get my favorite GS cookie without looking too far. Since she's retired, however, I've had to resort to other methods of finding my beloved coconut treasures. Though I didn't have the willpower to make these donut-shaped like the real ones, I promise you that little extra cookie in the center makes them all the more delicious. They are a bit time consuming to put together, but these babies are worth every extra second. Another bonus of making your own? Not paying $5 for 15 cookies. And have I mentioned they're delicious?


Homemade Samoas Cookies

For the shortbread base:
1 cup butter, softened
1/2 cup sugar
2 cups flour
1/4 tsp baking powder
1/2 tsp salt
1/2 tsp vanilla extract
1-2 tbsp milk

For the topping:
3 cups shredded coconut
12 oz chewy caramels (in the UK 'milk fudge' worked well too)
1/4 tsp salt
3 tbsp milk
8 oz dark chocolate, melted
  • shopping lis
  • 1. Start making the shortbread cookies! Preheat oven to 350 F, Mix together the butter and sugar until creamy. Slowly add in the flour, baking powder and salt at a low speed, then the vanilla and milk as needed (make sure the dough is still somewhat dry and not too sticky). The dough should come together into a soft ball. 
  • 2. Roll out the dough on a floured surface or parchment paper to 1/2 inch thickness. Using a medium sized cup or round cookie cutter, cut the cookies and place on a baking sheet lined with parchment paper. 
  • 3. Bake the cookies for 10-12 minutes until lightly brown. Just a note, however- I like my Samoas to have the same 'crunch' as the ones you purchase so I would advise cooking the shortbreads until they are quite golden. 


4. Remove from oven and let cool completely before adding the caramel. While the cookies are cooling, place the coconut on a cookie sheet and place in the oven. Let it toast for 5 minute intervals while mixing in between to make sure it does not burn.


4. Unwrap all caramels in place in a large sauce pan with milk and salt. Cook on low-medium, stirring occasionally, until all the caramel is melted and drips off a spoon easily. 

5. Once both the caramel and coconut are ready, combine in the sauce pan (on very low heat) until all the coconut is covered by caramel.  

6. Spoon heaping tablespoons onto the short breads, make sure to press the caramel-coconut mixture firmly into the cookie. I found this is easiest with your hands. Lightly re-heat the caramel if it becomes too firm to work with.


7. Once all the cookies are covered with the caramel-coconut mixture, melt the chocolate in a double boiler. When it is completely melted, begin dipping the bottom of the cookies. When placing the cookies to dry, I recommend facing them coconut-down until the chocolate bottoms are dry.


8. Once the chocolate bottoms are dry (or even mostly dry), flip the cookies over. Transfer the remaining chocolate to a frosting bag with a thin tip, or to a zip-lock bag and snip a small corner off. Drizzle the chocolate over the coconut and let set.


13 March 2012

Chocolate Hazelnut Granola Bars

As a self-proclaimed workaholic who would rather be too busy to function than not busy at all, I have often relied on granola bars to get myself through a class, work, or a meeting without having my stomach sound like it's talking. Living in a foreign country, however, has left me struggling to find a satisfying granola bar to accompany me in my Saturday afternoon dates with the library. This recipe is easy, can be made in a dorm room, and will definitely be the perfect snack for anyone on the go. Play around with different ingredients and try different flavor combinations like apple cinnamon or apricot almond to make a bar that tastes best to you. I have to warn you, though- this combination tastes like a ferrero rocher and makes it extremely difficult to stop eating.


Chocolate Hazelnut Granola Bars
3 cups plain oats
1/2 cup chopped dark chocolate
1/3 cup finely chopped hazelnuts
1/3 cup slivered almonds
1/3 cup shredded coconut
1/2 cup sliced dried cherries
1/2 cup diced dates
1 tablespoon brown sugar
1 tablespoon vanilla extract
1/2 cup honey

1. In a large mixing bowl, combine honey, vanilla extract, and brown sugar. Mix until completely smooth.
2. Add in oats, dates, and cherries and mix completely. Add more honey until the mixture begins to clump together.

3. Place in microwave for 30-60 seconds, or until the oats are warm. Add a bit more honey if necessary.
4. Add in chocolate and mix until a majority of the oats are covered in chocolate.
5. Line a square baking pan with wax paper and sprinkle the hazelnuts, almonds, and coconut at the bottom. Add the oats and honey mixture on top and press down firmly until the whole pan is covered.


6. Refrigerate overnight until firm. Take out of the refrigerator and slice into individual bars. I prefer to wrap them individually and store in the refrigerator to make for a quick and easy snack!